The theme this week is neon. I originally tried a colour blocking mani but it didn’t end up looking right, so I changed to this watercolour mani. I’m glad I did, I think it turned out really nice! The pattern reminds me of the floral jeans that are starting to flood Aussie stores for spring.
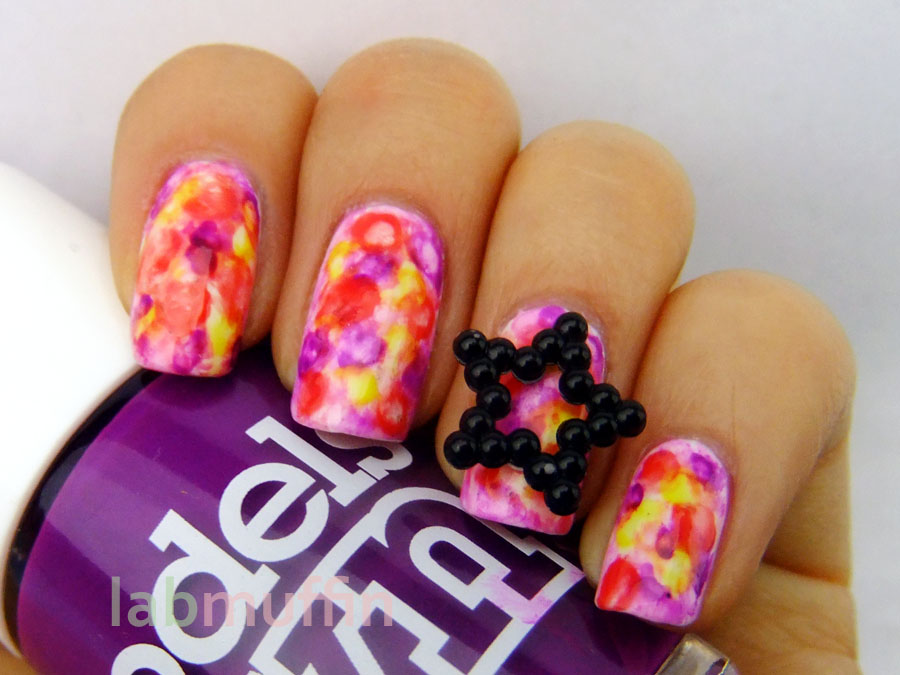
The base I used was Orly Dayglow, from the new Neon collection (swatches soon!). I used three polishes ilexica sent to me in a swap for the watercolour pattern on top: Barry M Acid Yellow and Coral, and Models Own Purple Passion.
The star is a cute decoration from kkcenterhk (product no. N.NAIL-DRN245) – I stuck it on with some top coat but didn’t seal it in. It’s a bit too big for my very curved nails, but they’d work really well on someone with flatter, wider nail beds! You can buy them here.
This week, I actually made a picture tutorial on how to make a watercolour design on your nails. This is very rare for me… savour it! 😛
What you need

Polishes:
– white base colour
– colours for watercolour design – 3-5 colours are probably the easiest, but you can make a nice design just with 1 colour!
– base and top coat
Tools:
– nail polish remover (I used plain acetone, but any will do)
– nail art brush – medium sized is most suitable
– dotting tool or small nail art brush
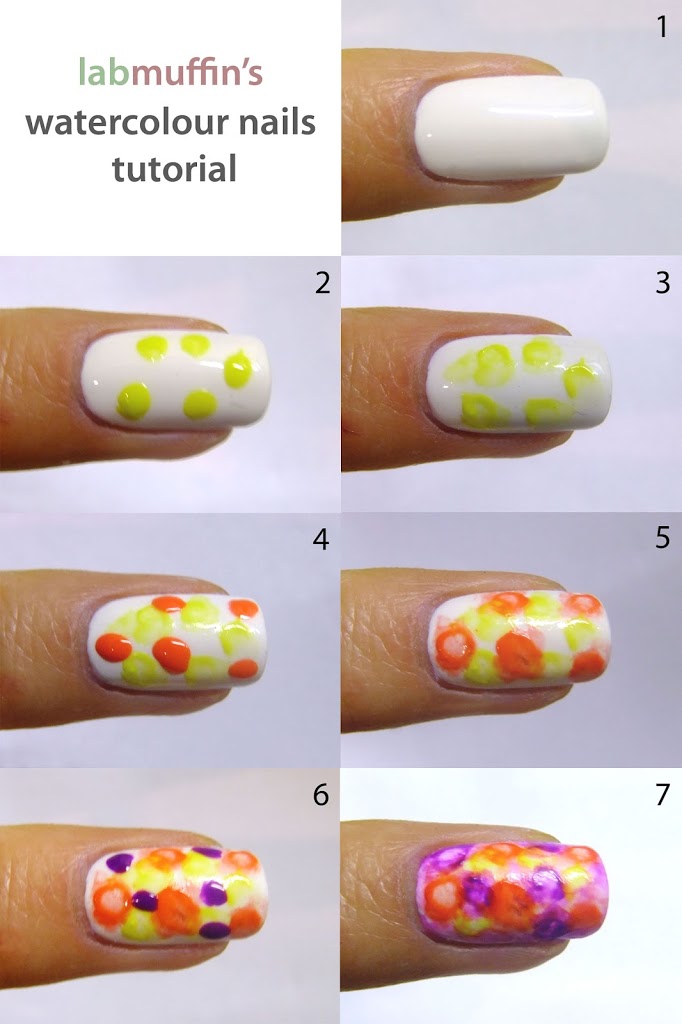
Step 1. On top of a layer of base coat, paint your base white shade. It doesn’t need to be perfect and fully opaque, but be warned that the design won’t cover everything. Finish with a thick layer of top coat and let it dry til dent-proof.
Step 2. Dot some of the first polish colour on a nail with the dotting tool or small art brush. Start with the lightest colour and work towards the darkest.
Step 3. Here’s the fun part! Get your medium sized art brush and dip it in nail polish remover. You don’t want it to be dripping wet, but you want the bristles to be slightly swelled out. Put it in the middle of a dot and wiggle it around a bit to spread the colour around – you don’t want it to be too neat.
You can play around with how much time you leave in between dotting and spreading to get different effects – the longer you leave it, the darker the “ring” around the original dot (you can see the ring quite clearly on the leftmost dot in step 5).
Doing steps 2 and 3 on one nail at a time will give you the most control over the pattern.
Steps 4-7. Repeat with the other colours, and finish with top coat. Voila!
It looks like there are a lot of steps, but it doesn’t take very long at all! And because it’s supposed to look messy, and none of your nails are supposed to match, it’s a breeze.
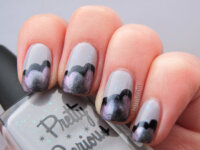
Here’s the finished design, before sticking the star decoration on:

What do you think? Should I make more tutorials in the future, and what would you like me to do them on?
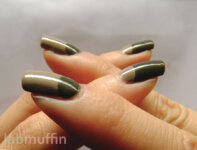
More neon nail art:

Star decoration and Orly Dayglow were provided for editorial consideration. For more information see Disclosure Policy.


Nicely done! I Love the tutorial! I really need to start doing some myself. I’m becoming a lazy blogger :/
Thanks! I’ve been meaning to make more tutorials, but it’s a bit tricky doing the photos and not smudging anything! Maybe a video would be less work next time… hmm.
It’s very, very pretty, bright and fun – well done Michelle!
Thanks Maria!
Very pretty, can’t wait to give it a try!
Please do, and post your results! 🙂
i love this! it does look floral! and great tutorial, i really liked it 🙂
Yay thanks! Hopefully I’ll be making a few more in the future 🙂
Def looks better without the star. Love the colors. =)
I prefer the star version, but it got pretty annoying after a while!
pretty! I agree with kelliemurray 🙂
Thank you Mel 🙂
Great tutorial, I’ve never tried this but it sounds easy enough. 🙂
Thanks, can’t wait to see what you do with it! 🙂
Please do as many tutorials on anything you wish! They’re so well written and easy to follow!