Like most people with long hair, I have a million hair ties and bobby pins that end up strewn all over the bathroom. I’ve tried organising them with jars and hooks, but it never seems to stick.
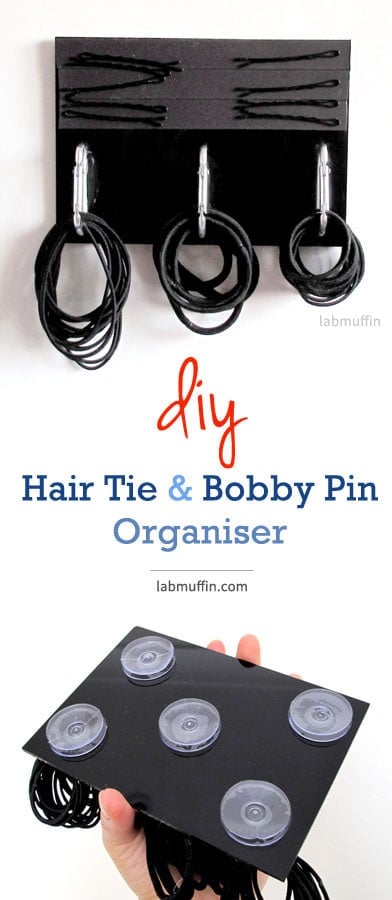
I recently saw two life hacks for how to keep everything neat: a magnetic strip for bobby pins, and carabiner clips for holding hair ties. Why not combine the two into a not-entirely-ugly organiser and stick it to the wall? Yeah, that’s what I did. I’m a low-key genius.
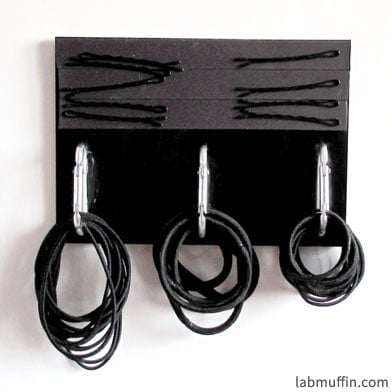
To put hair ties into the holder, you can just press the hair tie in and it’ll click into place. Taking the hair ties out is slightly more effort but much less than scrambling around trying to dig one out of who-knows-where.
You want one too? You’re in luck, I have instructions!
DIY Hair Tie Organiser
What you need
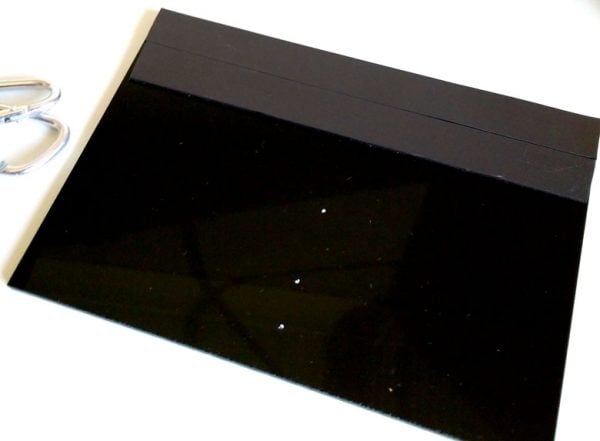
- A5 piece of perspex (Amazon, eBay
 ): You can go larger or smaller depending on your hair accessory holding requirements, but this works great for me. Shiny works best with the suction cups. I went for opaque because I didn’t want to see the cups, and black because everything matches it.
 - Double sided suction cups (Amazon, eBay): This is what I’m using to fix the perspex to my wall. I like this because it doesn’t leave any marks on the wall or the perspex, but unfortunately the quality of these is pretty variable so in the pack of 10 I received I had 2 deformed ones. I also considered using a double-sided pad covered in tiny suction cups but it didn’t work at all.
- Adhesive magnetic strips (Amazon, eBay): I got the 15 mm wide strip with adhesive already attached.
- Carabiners (Amazon, eBay): I used carabiners that were around 4 cm (1.5 inches) long. I bought these specifically because the non-clip side was completely flat, so it would have a larger contact area when I stuck it to the perspex. The number will depend on the size of your perspex but I found that placing them around 6 cm (2.5 inches) apart was perfect.
- Gorilla glue (Amazon, eBay): I’m sure other glues will work, but this is what the guy at the hardware store recommended and he knows more than me. I suspect that a slightly less brittle glue might actually be better. (Edit: I’ve since replaced it with silicone glue and yes, it does work better!)
I bought everything except the glue off eBay, but it took weeks to get to me. If you aren’t rushed, at current eBay prices it works out to be less than $15 AUD. Bargain!
Instructions
1. Take the paper off the perspex and wipe it down with a tissue.
2. Mark out where everything will go (I used a liquid chalk pen).
3. Stick down the magnetic strips. You might find that you need glue to keep them stuck down. I used two at first but ended up adding an additional strip later.
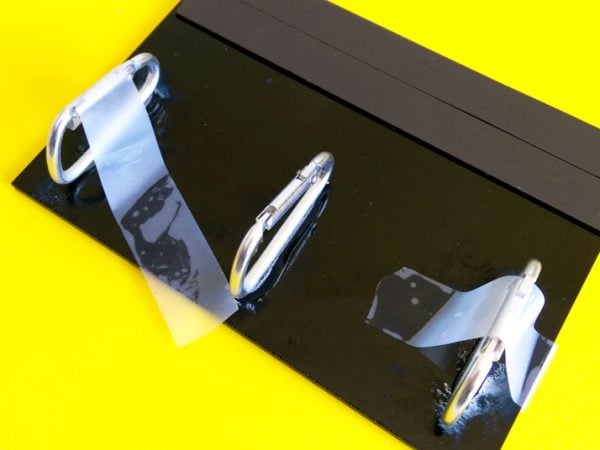
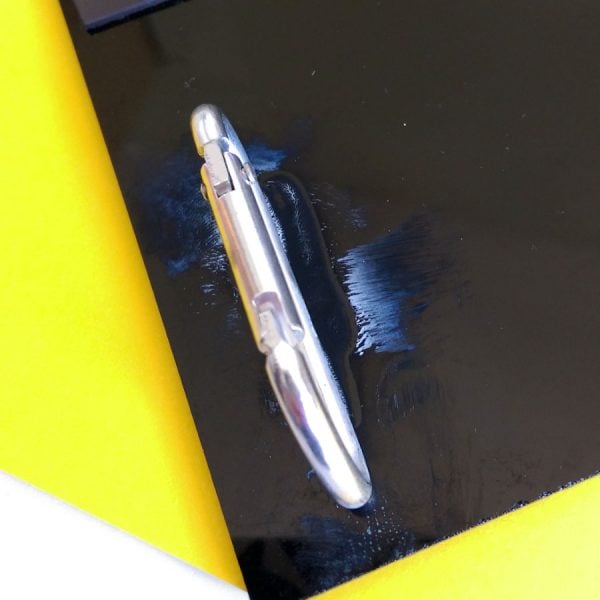
4. Paint a strip of glue with the non-clip side of a carabiner. Place it in the right place perpendicularly to the perspex.
5. Gorilla Glue takes about 10 seconds to harden enough to keep the carabiner standing in place, As insurance, I added strategic sticky tape to secure them upright overnight:
There’s a little white frost that forms on the Gorilla Glue after it dries, but you can scratch this off pretty easily.
I added additional glue on either side of the carabiners to make them a little more robust. I think it’s quite likely that they’ll snap off with any sort of impact, but with regular use it’s all staying in place.
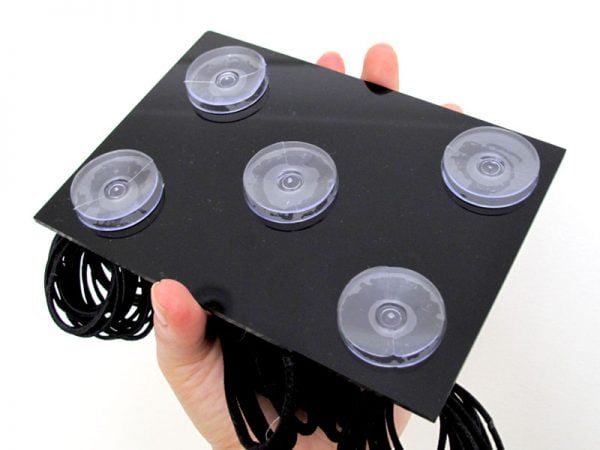
6. To stick the plate to a smooth surface, fix the suction cups to the back of the perspex and press it onto the surface. I used 5 cups evenly spaced on the back of mine which seems to be sufficient.
Done!
I thought this DIY would be one of those ones that I’d be excited about at the start, and then it’d just end up sitting there unused. But it’s been super handy, and I’m still using it now!
I feel like this is my magnum opus. I know I’ve just missed the 2017 Nobel Peace Prize, but feel free to nominate me for the 2018 one for preventing a million bathroom-related arguments. I’ll make sure I clear my calendar.
This post contains affiliate links – if you decide to click through and support Lab Muffin financially (at no extra cost to you), thank you! For more information, see Disclosure Policy.


This is very clever. A big round of applause! Being Swedish I award you with a fake Nobel medal, since you’re angling for it 😉
I wonder if Sugru might be your friend here, to make the carabinnies stick? Harder to get elegant though and it’d work out as more expensive for sure.
Thank you! I humbly accept your award 😀
Hmm, I don’t know if that’s available here… but I know basically nothing about glues! I’m trying out a different glue soon so I’ll update if it works well!
Thank you so much for showing this and providing the links. I like the visuals! As I age, I find I take in the instructions much better if visual aids are included, lol.
Also, a big thank you for the information on the interesting subjects that you blog about. It is a welcome addition to the polish swatching blogs.
Thank you so much for taking the time to comment Lara! 🙂