Today I’ve got a DIY project to show you, that I’m very proud of – mixing lipsticks to get custom colours.
I’ve recently started buying lippie, inspired by the likes of Michaela and Ling. As a rookie lipstick buyer/wearer, I have a whole collection of shades that look terrible on me – they’d be great if they were sheer, but as opaque colours they are definitely bleh and make me look like an “avoid” from Shag Marry Avoid.
Being frugal, I couldn’t just leave them all lying unused though, so I decided to melt them down and turn them into something I’d actually use. So I made…DIY Custom Lipstick!
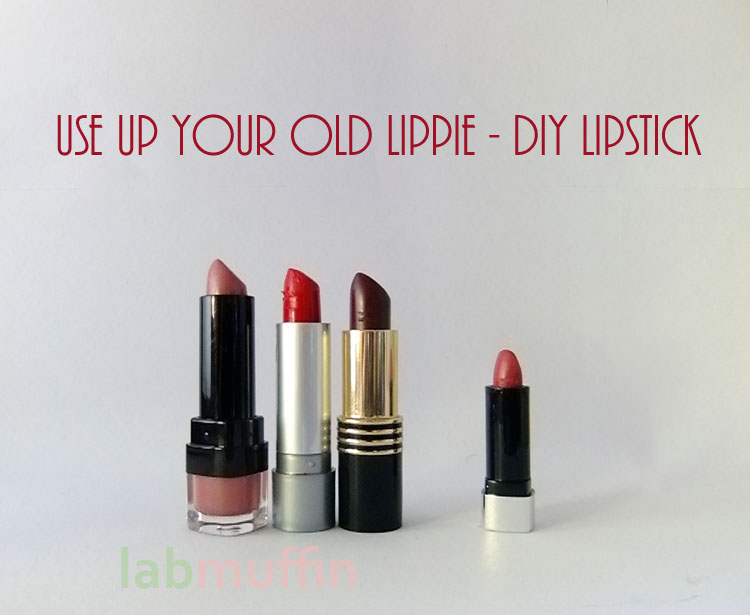
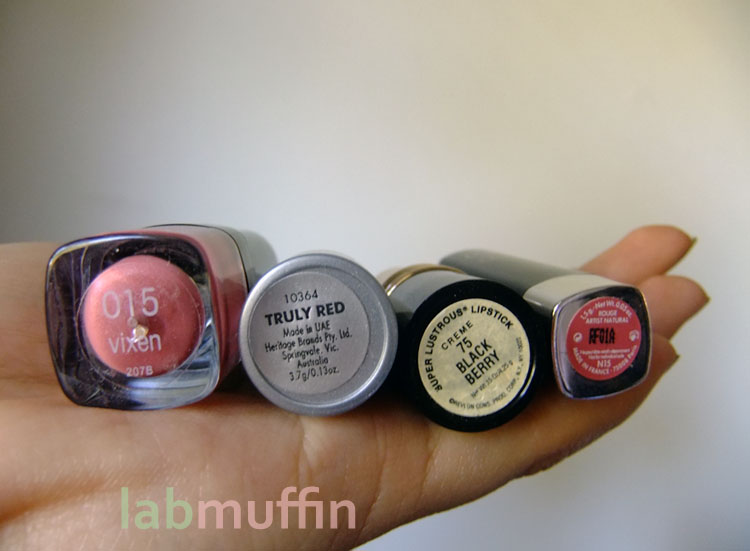
I’m in love with the mini Make Up For Ever Rouge Artist Natural lippie I picked up at BBU12 – it’s the perfect understated colour that matches my lips almost perfectly. I kind of wish it’d be a tad redder though, so I decided to try making my own out of some lippies I didn’t like: ulta3 Vixen, Mode Truly Red and Revlon Black Berry.
What you need:
- Old lipsticks
- Small heat-safe container for mixing
- Microwave or double boiler
- Spatula (I broke off the handle of a plastic fork)
- Tissues
If you want to make a lipstick in stick form, you will also need:
- Empty lipstick container
- Small piece of foil
- A pen or similar object the size of the lipstick you want to make
- Hair dryer
1. Decide what colour you want. Having a swatch (just a colour cutout from a magazine, for example) with you is very helpful for colour adjustment, but of course you can just try it on your lips to see the effect. I’m basing my colour on MUFE Natural.
2. Decide how you want to store your custom lippie. The easiest is a lip balm container or empty lip pan (use a lip brush for application). If you want to make a lipstick, follow the optional steps further below.
3. Choose lipsticks to mix. This step requires a bit of practice – it helps if you have a lipstick that you want to change just slightly. ulta3 Vixen is pretty similar to what I want, but I’d like more red (Mode Truly Red) and a bit of brown (Revlon Black Berry).
4. Chop up your main colour into the mixing container.
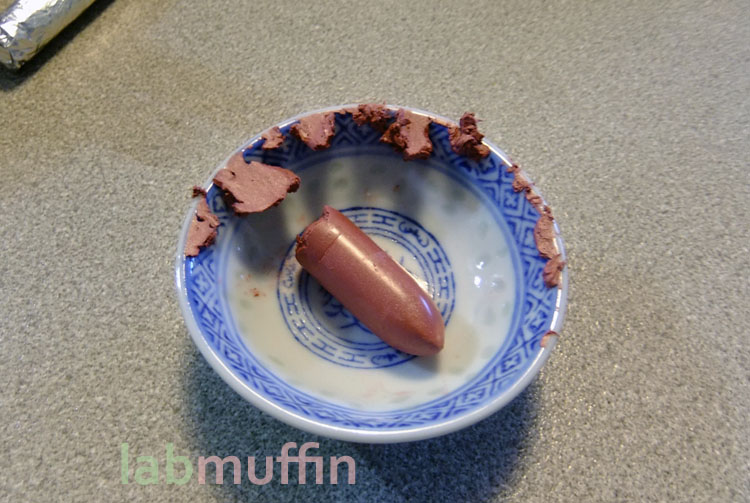
5. Melt it either gently on the double boiler, or in the microwave (be careful not to overheat your lipstick, 15-30 second intervals is good, with stirring in between). You want the consistency to be quite liquid, as lipstick will solidify quickly at room temperature.
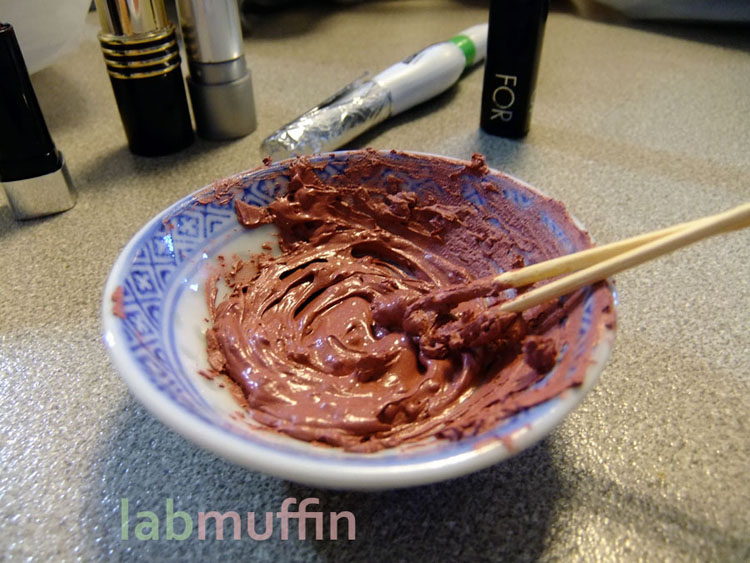
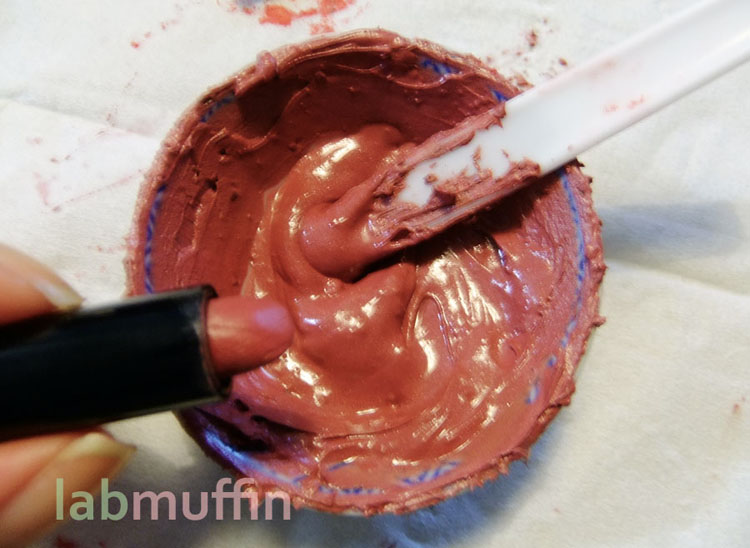
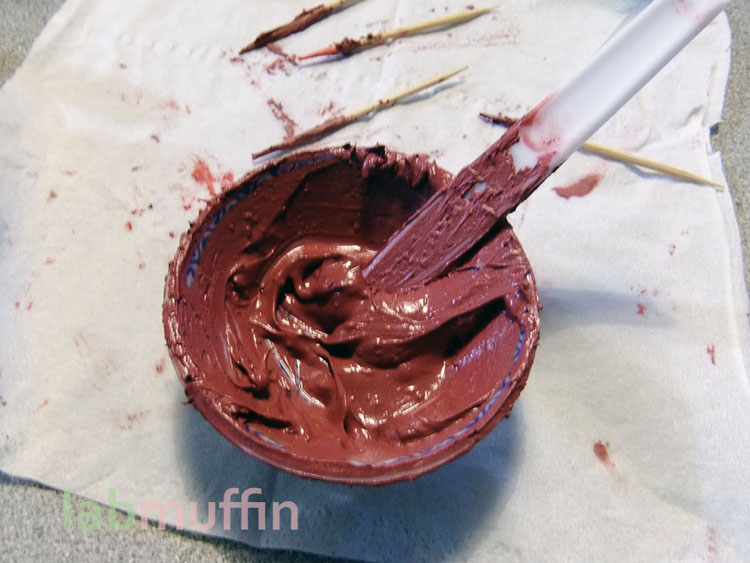
6. Add the other colours, a small amount at a time, and heat further to melt. Make sure it’s all incorporated in before you add more – lipsticks from different brands often melt at different temperatures, and you don’t want to end up with hidden lumps of unmixed colour!

Getting pretty close with mine!
7. Once you’re happy with the colour, melt it once more and scoop it into the container of your choice. If it’s in chunks and you’d like it to lie flat in the container, you can secure it, then blast it with a hairdryer to melt it (make sure the container is heatproof before you do this, and make sure you secure it – a hairdryer blast is surprisingly powerful!). Be careful, hairdryers can get very very hot!
To stick it into a wind-up lipstick (optional):
1. Clean out an old container – I’m using the case of ulta3 Vixen.

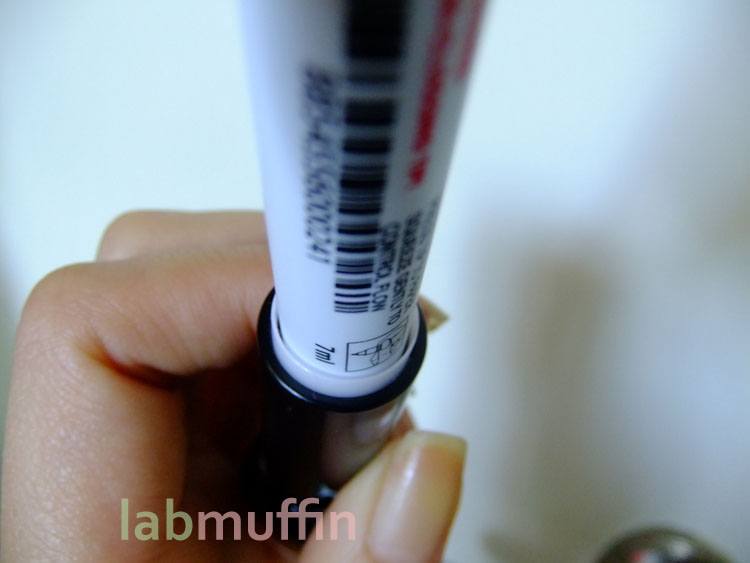
2. Find a pen or other cylindrical object that fits in quite nicely in the holder. I’m using a white-out pen.
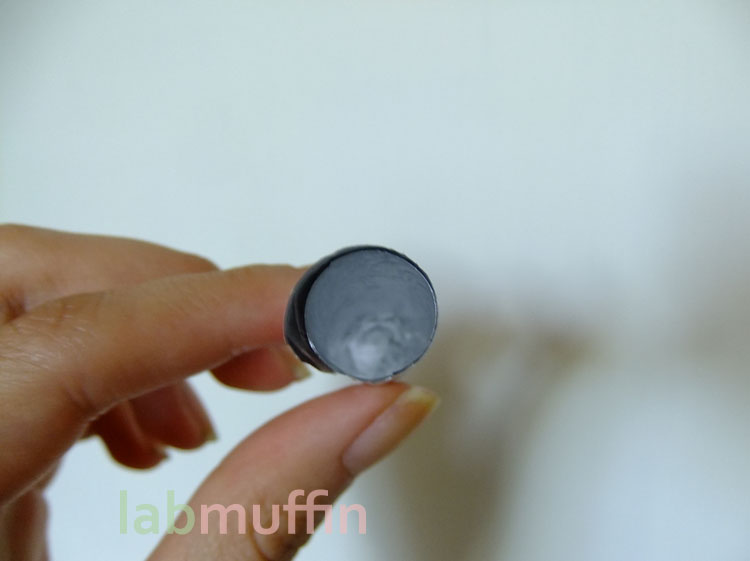
3. Wrap foil around the object, then flatten the end.

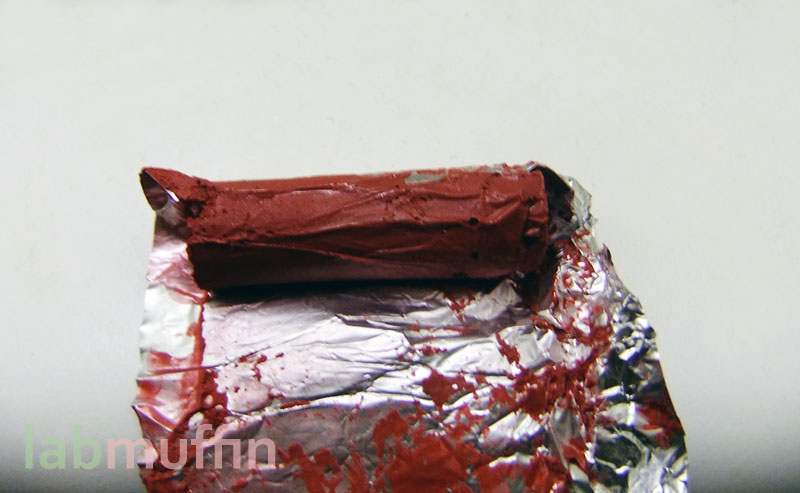
You should end up with a little foil tube like this, with one closed end and one open end.
4. Transfer completed custom lippie to the tube – you’ll want to stabilise it somehow (I’ve put it in a mini jam jar). If it’s all lumpy, blast it with a hairdryer, but be careful – the air from the hairdryer can knock your tube over, and it gets very hot! Leave it to cool – you can put it in the freezer to speed up the process.

5. Unwrap your lippie…
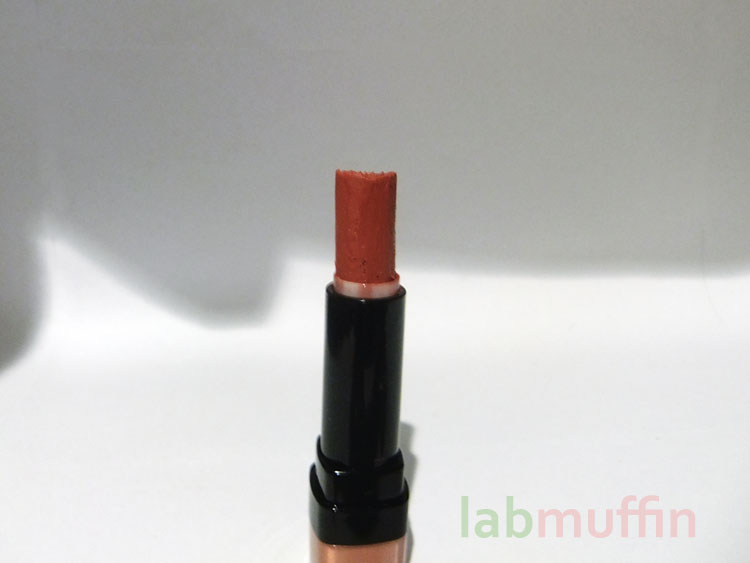
6. … and jam it into the container. Done! If you don’t like the wrinkles on your lipstick, you can smooth them out with the foil, and if you want, you can cut the lipstick at an angle.
I’m super happy with my colour, and I’ve been wearing it quite a lot! Definitely one of my most successful DIYs so far!
Do you have a lot of unused lippies? Have you thought up any good uses for them? Let me know 🙂

This is one of the greatest beauty DIYs I’ve ever seen. Thank you. So useful.
Glad you enjoyed it! 🙂
Thank you so much for this tip! Great stuff. Just tried mine today.
Amilia (Beijing ,China)
I don’t wear lipstick, but this is awesome! 😀
Thanks! 🙂
Wow, this is just crazy! I wouldn’t have thought that you could melt them down like that and have them turn out okay again. I guess it makes sense, though. Nice work!
Haha yes, the trick is just not to overheat anything! 😉
this is such an awesome DIY! i never would have thought of this! really cool, and pretty 🙂
Thanks, let me know if you try it!
You are a legend! This as been on my to do list for ages, now I know how to do it!
Thanks! I know you have a million lippie stubs to mix hehe 😉
What a great tutorial 🙂
Thank you Maria, glad you liked it 🙂
This is genius! I think I’m gonna combine some lipstick with lip balm (like another DIY you have here) to make a tinted lip balm. Thanks for the idea!
Glad you liked it! 🙂
This is so cool. Thanks! 🙂
Yay, thanks! 🙂
Great your tutorial! Living in Germany, I am lucky to have had a long’time ago a shop selling materials for diy cosmetics and have still a lippie mold B-)
A little tip, you can use the lip balm “sticks” to pour in the liquid lippie… if you have these down under… do you know what I mean?
It is possible to mix some eye shadow or blush powder in, too but you have to be careful so it doesn’t get too dry
You can mix unliked eyeshadow or blush powders, too! (And almost anything with colour… if you’r careful)
Just as a tip for your lab…
(I’m in a mixing mode these days, takin part in a nail polish open development from a firm here… just fun!)
Greetings from Berlin,
Monika
I forgot… to get your new lippie easier out of the foil/mold… put it in the fridge/freeze until it is hard enough, so it won’t break when you push it into the lipstick case.
Greetings from the snow zone…
Genius! I can never find exactly the right shade, so I am totally going to try this.
Thanks for the extra tips Moni, very helpful! 🙂
Great idea!! Especially the part about using the foil to make a tube shape. I have many unloved lippies and thought about mixing them to something new, but didn’t know about how to make them into tube shape. All I could come up with is put them in pots and I know it’s most unlikely I’ll use them if they’re in pots.
I have the same problem – I almost never end up using lip pans. The whole process is just too bothersome – tube lippie anytime!
A. You’re amazing.
B. I have a high percentage of “It’s almost perfect, if only it were a bit redder/pinkier/neutral” lippies and yes, I wanted to mix them, but never got round to it.
I though about just smooching them together but this… this looks much more efficient 🙂 !
And that foil bit was a stroke of genius -.- !
Hahaha thank you! *bows* I’ve saved some for smooshing in case I want to try out different colours, but since I had a colour in mind, I figured why the hell not 🙂
Hardcore. Love it.
Hee, the first time I’ve ever been called hardcore I think! I like it 🙂 Thanks!
Very cool and creative idea!
WOW great idea… love it.
i prefer to use a lip brush to get the last of the lipstick out. … but I have a few very beautiful cases that I want to replace lipsticks in. I will buy a new lipstick, freeze it and take it out carefully to fit into my beautiful Guerlain lip case!
Omg have spent the last hour melting down all my discarded lipsticks, about 12! I now have 4 gorgeous new ones, thank you so much! Xx
I’m so glad it worked so well for you! 🙂
Hi,
I love your post.
I’m a bit confused though why we use the tin foil to dry the melted lipstick/ how that works!
I can’t pour my melted lipstick shade that is hot into the emptied out lipstick tube and have it cool off that way?
Would it still be in the same shape?
Thank you!
Best,
Binu
You can, but it might leak into the gaps around the edge and it’ll be a pain to turn up – when lipsticks are made commercially, they’re usually moulded separately then attached into the lipstick case, unless the case is made especially for pouring into (balm style lipsticks sometimes are).
You are the DIY beauty queen and I am so happy that I found your site.
Hi
First of all, thank you so much sharing this speechless concept for you I like your skin concept it very effective helpful for me ..but can you please me to know what is the best lipstick for me